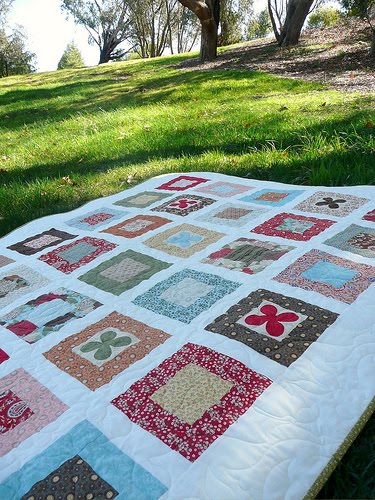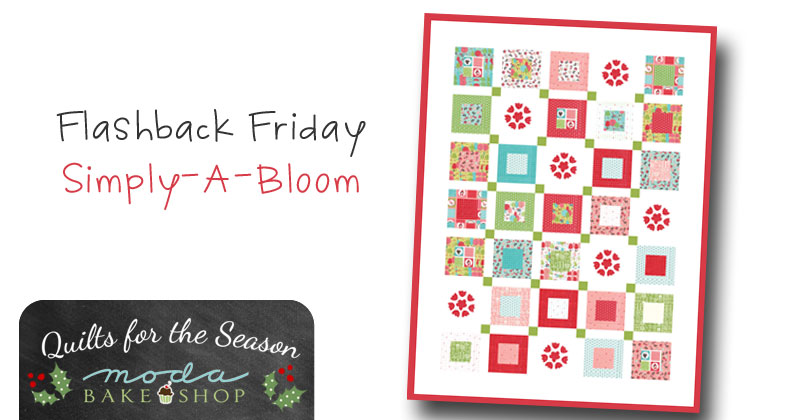

Today's Quilt for the Season is a sweet and simple design that incorporates a motif from the fabric itself. Whether you choose to applique or embroider, it certainly adds a festive touch!
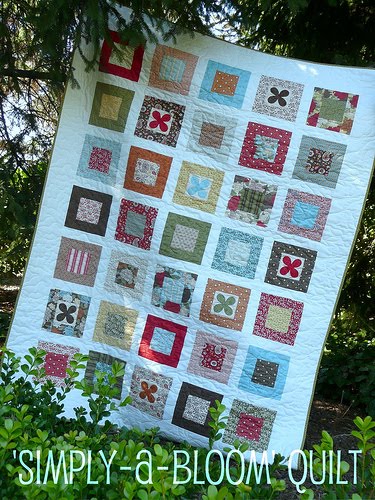
Some changes have been made to the original Simply-A-Bloom quilt design from Chef Roslyn Mirrington. You can see the original quilt {here}. The full instructions for making the quilt shown below are included in this post.
This quilt finishes at 62" x 83".
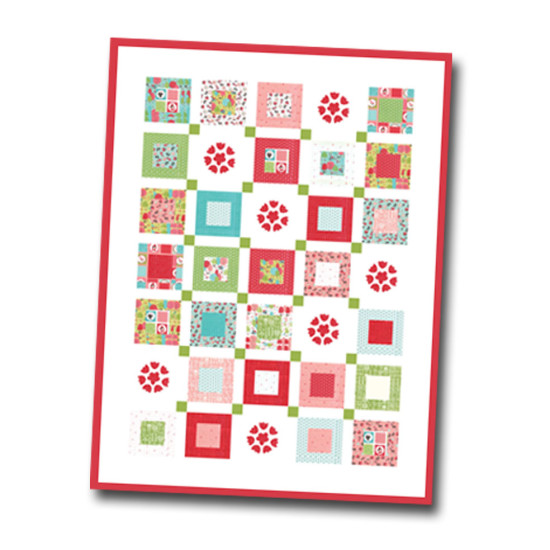

1 Layer Cake® {Lil Red by Stacy Iest Hsu}
2½ yards sashing and applique blocks fabric {Bella Solids 9900-98}
¼ yard sashing squares {Bella Solids 9900-134}
1¼ yard border fabric
⅝ yard binding fabric {Bella Solids 9900-16}
5 yards backing fabric
fusible web for applique or embroidery supplies
Applique template (in the Printer Friendly Version at the bottom of the post)

CUTTING
From the applique block fabric, cut (7) 9" squares.
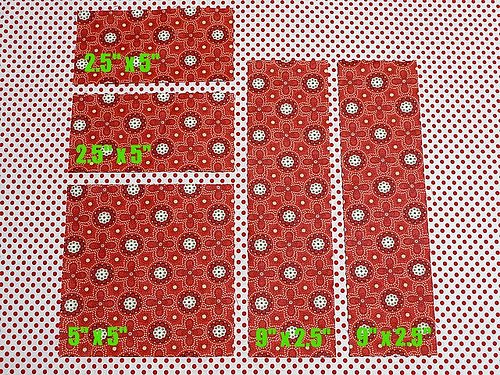
From each of 40 Layer Cake® squares, cut:
- (2) 2½" x 5" rectangles
- (1) 5" x 5" square
- (2) 2½" x 9" rectangles
From the sashing fabric, cut (13) 2½" x WOF strips, subcut into (58) 2½" x 9" sashing strips.
From the sashing squares fabric, cut (2) 2½" x WOF strips. Subcut into (24) 2½" squares.
From the border fabric, cut (7) 6" x WOF strips. Piece end-to-end and subcut into:
- (2) 6" x 90" vertical borders
- (2) 6" x 55" horizontal borders
PIECING
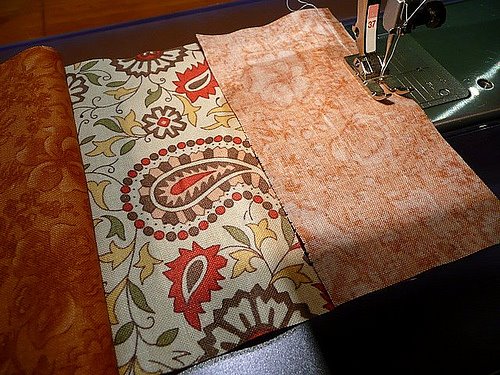
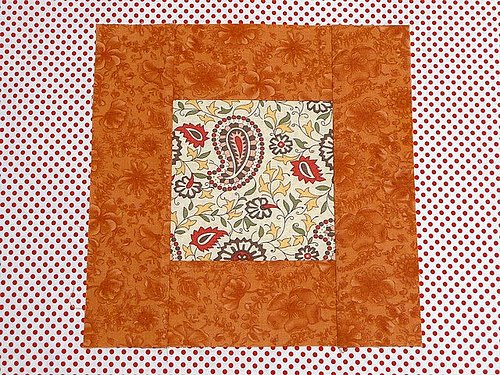
To make the blocks, stitch two 2½" x 5" rectangles to opposite sides of a 5" x 5" square using a ¼" seam. Press.
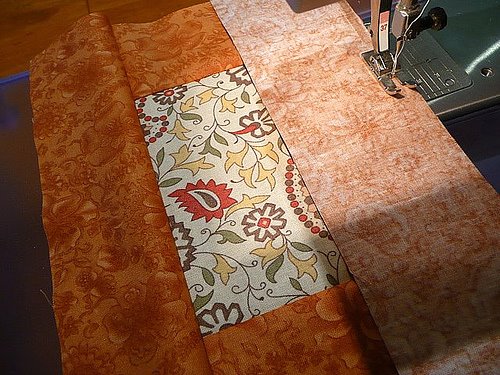
Stitch two 2½" x 9" rectangles to the sides of the block. Press.
Make 28 of these blocks.
APPLIQUE BLOCKS
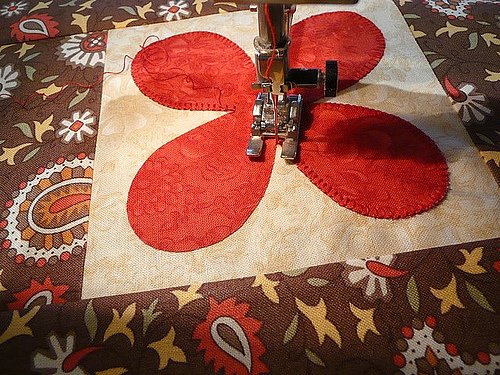
The motif used for applique comes from the fabric itself. It works wonderfully for raw edge applique using fusible web as backing. Alternatively, you can use the applique templates to create an embroider motif. Simply trace the printed image using a iron transfer pencil and place on the fabric. Set the graphic with a hot iron and embroider!
For more information on creating your own unique applique design from your favorite fabrics, click through to the original recipe {here}.
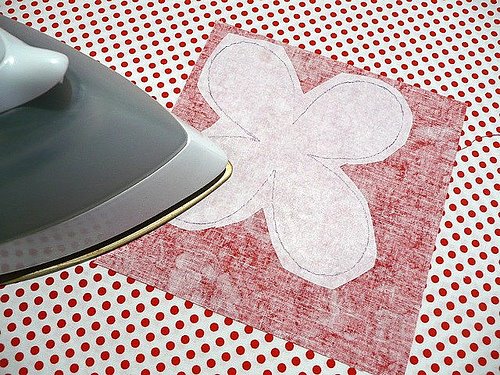
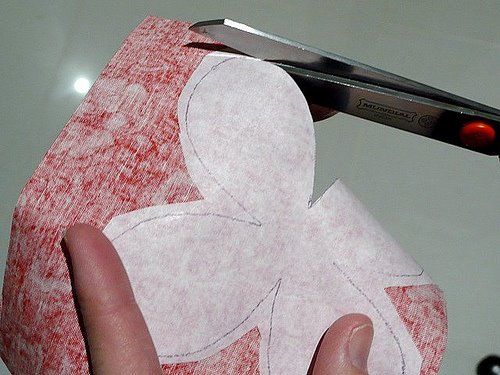
Using a pencil, trace your chosen appliqué motif seven times onto the paper side of fusible web, leaving a ½" space between shapes. Cut out the shapes roughly - don't cut on the pencil line yet.
Fuse each shape onto the back of your selected fabrics.
Cut out each shape carefully on the pencil line.
Fuse the appliqué to the background squares, taking care to center the motif. Machine appliqué motif onto block using a blanket stitch in a matching thread.
ASSEMBLE THE QUILT TOP
Arrange the blocks in seven rows of five blocks. Sew the rows together, piecing a 2½" x 9" sashing strip between each block.
Create horizontal sashing strips by piecing 4 sashing squares between 5 sashing strips. Press.
Join the rows of blocks, piecing the horizontal sashing strips between each row. Take care to line up the blocks vertically as you join the rows.
Join the horizontal border strips to the top and bottom of the quilt.
Measure the length of your quilt. Trim the 6" x 90" border strips to this measurement. Join the borders to the left and right sides of your quilt.
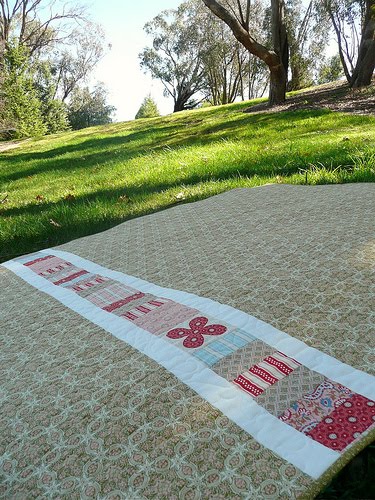
Back, quilt and bind your quilt as desired. I used any remaining layer cake fabrics to piece the backing.
1 Simply-a-Bloom quilt, approximately 62" x 83".
Simply Blooming,


