Welcome to Moda Fabrics!
Pre-cuts & Pre-washing
Pre-cuts & Pre-washing
So can Moda pre-cuts be pre-washed?
The simple, easy answer is Yes. Any fabric can be pre-washed. But it can get very messy, and you might prefer working with non-washed fabric.
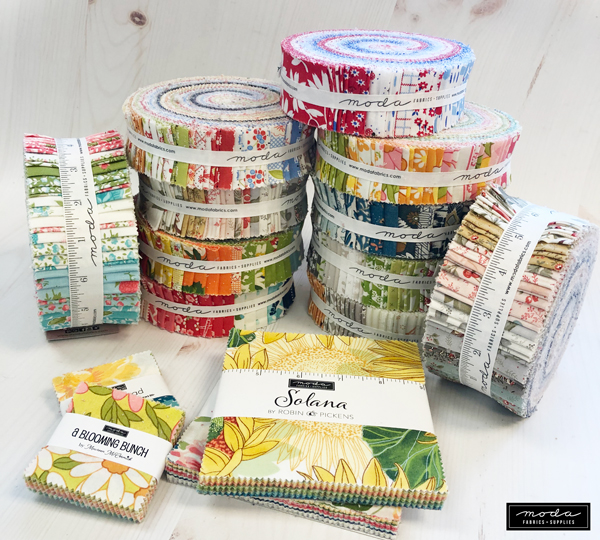
For today, I'm not going to discuss whether or not we should be pre-washing. It's a safe bet that you already know which you prefer, and you have reasons for doing what you do. But if you do want to pre-wash pre-cuts, we have an idea or two about how to do it. And if you want to pre-shrink or starch your pre-cuts, I can help with that.
I learned to make garments before I learned to quilt so I pre-washed everything because of shrinkage. When I started making quilts, I pre-washed most of my fabrics because that was the rule, and why not? As I began using more pre-cuts, and making quilts for patterns and business, I stopped because of time constraints, and because it was messy. (It still is.) Over the years, I've found ways to pre-shrink my fabrics because I love pressing with steam, and I don't want my pieced units and blocks to shrink because I was a little over-enthusiastic with the steam.
Pre-washing. This is the full-on experience with soap, water and rinsing, the purpose of which is to remove chemicals, shrink fabrics and test the fabrics to see if colors run and bleed. Some of us need to worry about chemical-sensitivity so pre-washing isn't an option, it's a must. If pre-washing pre-cuts is a must, then Mesh Laundry Bags are the answer.
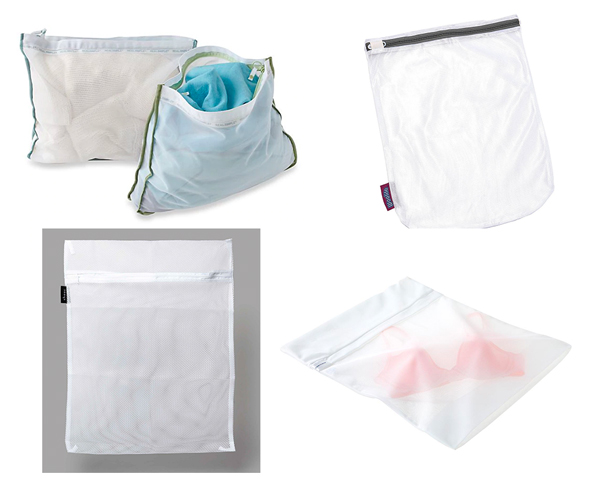
They come in a variety of sizes, and they're relatively easy to find in stores. The size of the mesh varies and any size mesh works, though mini charms tend to hold up a little bit better with finer mesh bags.
Since you'll need several bags to wash even a single pre-cut, mesh laundry bags can also be made. By Annie has a pattern for a mesh laundry bag - Mad About Mesh - and more than a dozen colors of Lightweight Mesh Fabric.
To pre-wash pre-cuts in mesh laundry bags - test-washing a couple of strips is also recommended:
- Do not over-stuff the bags. One Mini Charm Pack will fit inside a single, good-sized mesh bag, but one Charm Pack with 42 squares should be split into two bags. The same for Honey Buns. Jelly Rolls and Layer Cakes will probably use four bags, depending on the size.
- Wash on gentle cycle - with only enough spin to remove the excess water.
- Use a Color Catcher dye magnet sheet if there are saturated colors that might release excess dye into the water.
- Leave the pre-cuts in the bags for the dryer.
- Pressing the washed squares and strips will be necessary.
With the pinked edges, fraying should be minimal, but that is not guaranteed. But there will be shrinkage in the width of the fabric. For Jelly Roll and Honey Bun strips, that means that the strip will not be as long. The width will stay the same - 2.5" and 1.5" - but the 42" length of the strip might shrink as much as 1". (Been there, seen/measured that.)
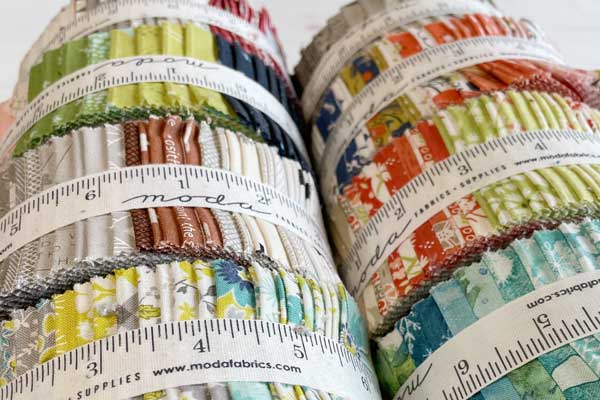
You know these are "lint bombs", right? Corey Yoder uses a sticky lint roller to remove - de-fuzz - the Jelly Rolls before she unrolls them. Using multiple sheets - as many as necessary - she rolls the two sides of the Jelly Roll until the sheets are relatively lint free. It might sound crazy, but it really works.
Betsy Chutchian also has a great trick for Jelly Roll strips that removes most of the lint, shrinks the strips a bit, and gets them ready to use. She unrolls the Jelly Rolls - yes, there will be lint - and puts the strips in the dryer. Using High Heat, run the dryer for about 6 to 8 minutes. Clean the lint filter and repeat. Betsy recommends three cycles, cleaning the lint filter each time. The strips come out of the dryer as though they had been pressed - they are not in a wad. (I can't wait to try this!)
Pre-shrinking and Starching. Simply getting the fabrics wet and letting them air-dry will pre-shrink them. This also lets us test to see if fabrics will "bleed". For this, you'll need a portable, collapsible drying rack.
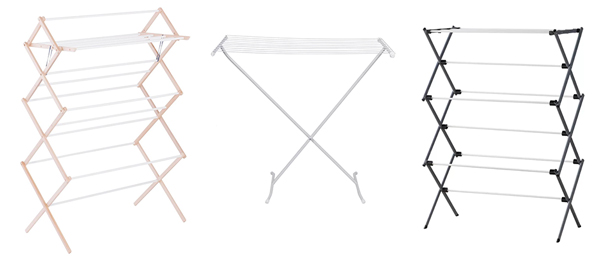
Which style to get, and what size to get, will depend on the amount of space you have, and the pre-cuts you use most. If you use primarily charm squares, mini charm squares and strips, the flat rack in the middle works best. If you use a lot of Jelly Roll and Honey Bun strips, the two accordion-style racks will be easier to use. To make it even easier, if the pattern you're using allows you to use strips that are 21" long, cut the strips in half before wetting and drying them.
In a perfect world, you have space in your garage, in a laundry room, or outside for this. (Because I live in an apartment, my rack has to fit in the bathtub.) If you're only using water to pre-shrink, then the only worry is a wet floor. But if you're using starch or sizing, then you'll want to use a plastic, painter's drop-cloth under the drying rack.
To test for color - place the soaking wet square or strip on top of a white cloth, e.g., a plain, white flour sack towel is perfect for this.
Wait... you're wondering how that rack is going to work with charm squares, aren't you? Especially mini charm squares.
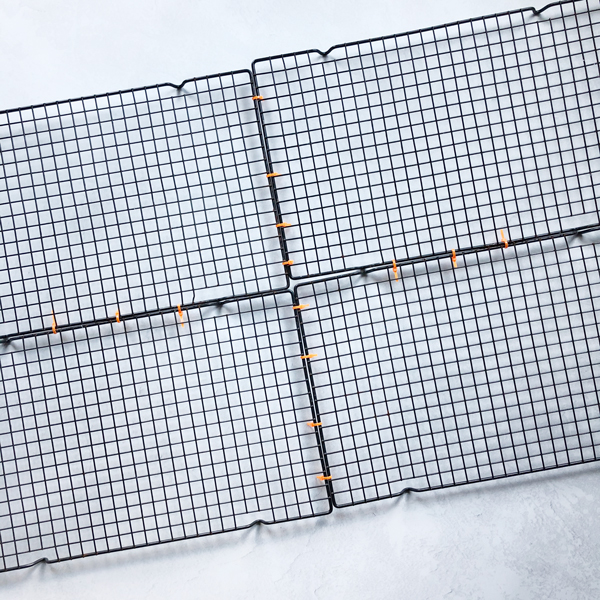
Four grid cooling racks and mini zip ties. (Home Goods and Home Depot.) This lays across the top of the flat drying rack. Some flat racks have an optional mesh top but honestly, this has worked so much better than that. To the point that I have used this for about five years. All forty-two squares of a mini charm pack fit on the surface in a single layer, and the forty-two squares of a 5" charm pack fit in two layers. Layer Cakes? The surface holds six squares, so there are seven layers of squares. It works well, it just takes a bit longer to dry.
There are two ways to wet the strips, either with water, or with starch. The first is to lay out the squares and strips and saturate them with a spray bottle of water, or a bottle or can of starch. The second way is to fill a small tub or bucket with water or starch, soak the strips and then place them on the rack to dry.
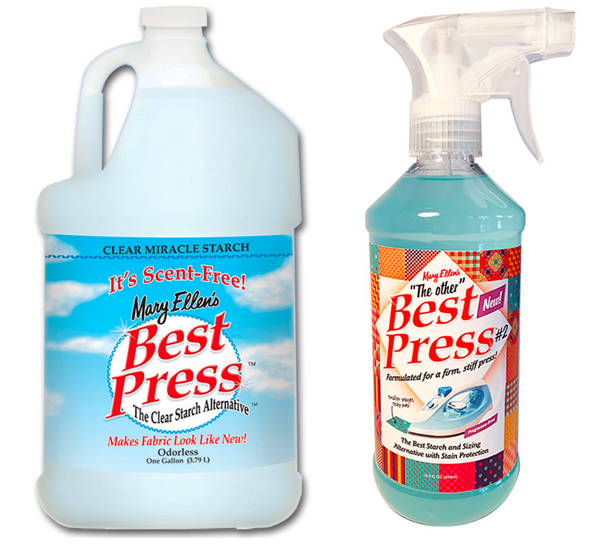
Best Press is a great option for this, especially if you use the refill bottles. And if you like a stiff finish to the fabric, The Other Best Press - aka Best Press #2 - is a non-starch alternative that gives fabric a starch-like finish. Both of these products work well for the soaking method, especially if you like using Jelly Rolls and Honey Buns. The soak method also works for those who make their own starch.
If you're on the fence, take Lisa Bongean's word for it. She's a "starcher".
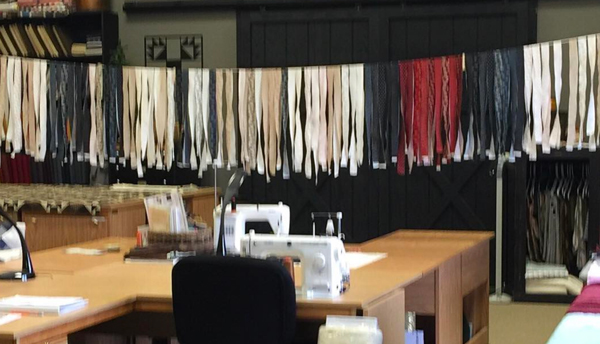
Then she "lets it hang until it's dry". Then she presses the strips flat with steam. It seems a bit time-consuming but it really does help with accuracy because... c r i s p.
With National Sew A Jelly Roll Day coming in September, it's not too early to get fabric ready. And we've got a plan for Honey Buns too.
So let the soaking and drying begin.

Comments