Welcome to Moda Fabrics!
X's and O's Quilt
X's and O's Quilt
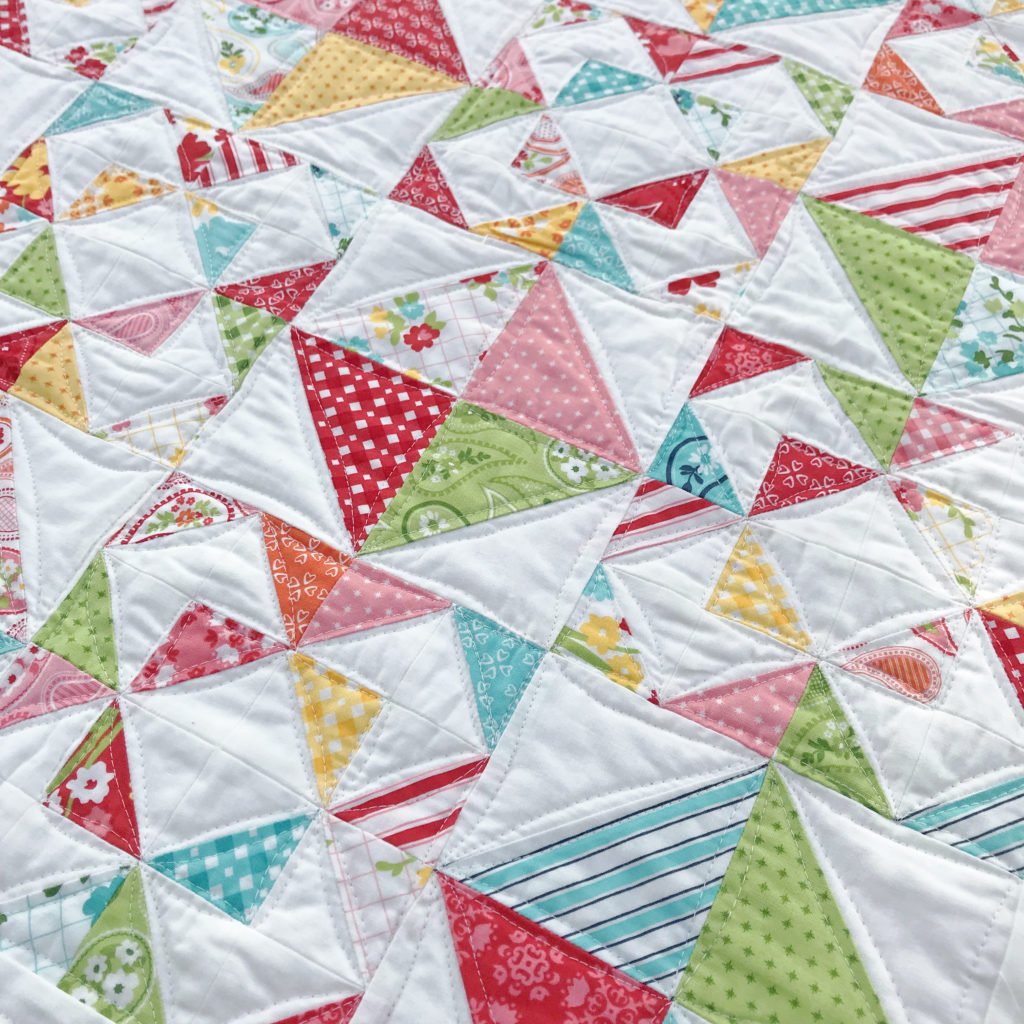
Hi! My name is Susan Vaughan from The Felted Pear. I am excited to share with you today a tutorial for my X's and O's quilt! By using one charm pack and a little over a yard of background fabric, you will be able to create a festive wall hanging or table topper that looks great not only in the happy colors of April Rosenthal's Mama's Cottage, but soft and romantic in your favorite floral fabrics.
The idea for this quilt originated from a charm pack and pad of the Cupcake Mix Recipe Cards #1. I love working with the recipes because they use precut fabrics so they require little cutting prep work, they are fast, accurate and most importantly they eliminate the need for squaring up Half Square Triangle units! After all your units are made the fun comes. You can literally spend hours arranging the units coming up with different patterns and blocks. While playing around with blocks on my design wall, I noticed that these two blocks looked just like X's and O's and I knew I had to put them together to make a quilt!
This quilt finishes at 30"x 30".
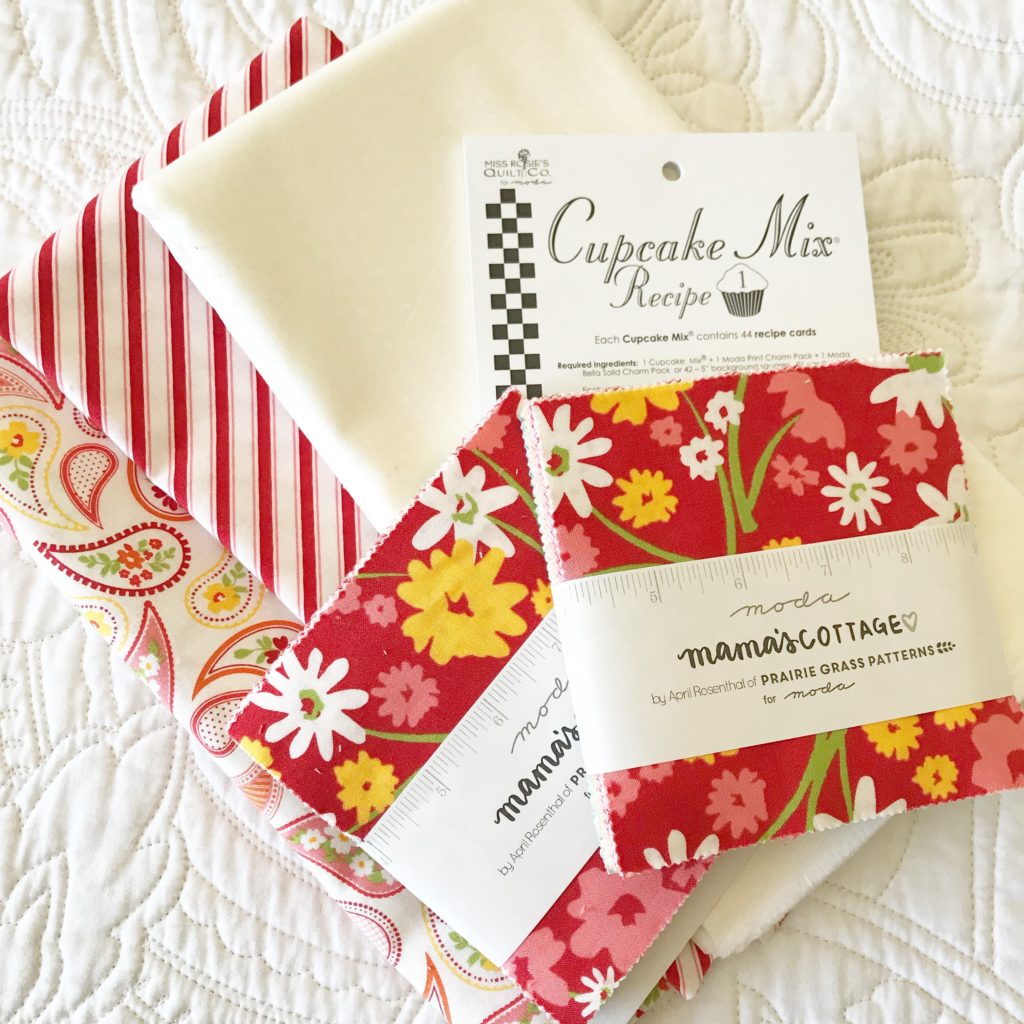
(1) Charm Pack of Mama's Cottage by April Rosenthal (32 charm squares)
1.5 yards background/border fabric {24057 15}
1 yard backing fabric {24052 21}
1/3 yards binding fabric {24056 11}
Cupcake Mix #1 {CC1}
Cut (5) 5" strips by the width of fabric from your background fabric. Subcut those strips into 5" squares until you have 32 background squares.
From your charm pack, pick your 32 favorite prints.
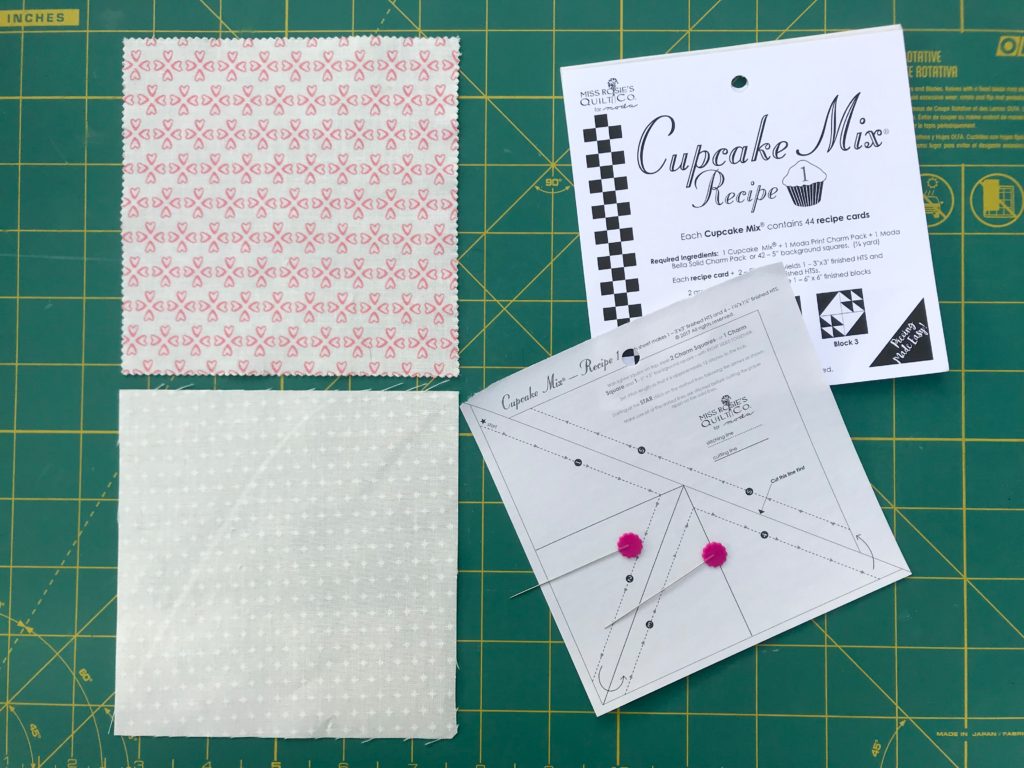
Gather one 5" square of background fabric, one 5" charm square, one Cupcake Mix Recipe card, and some pins.
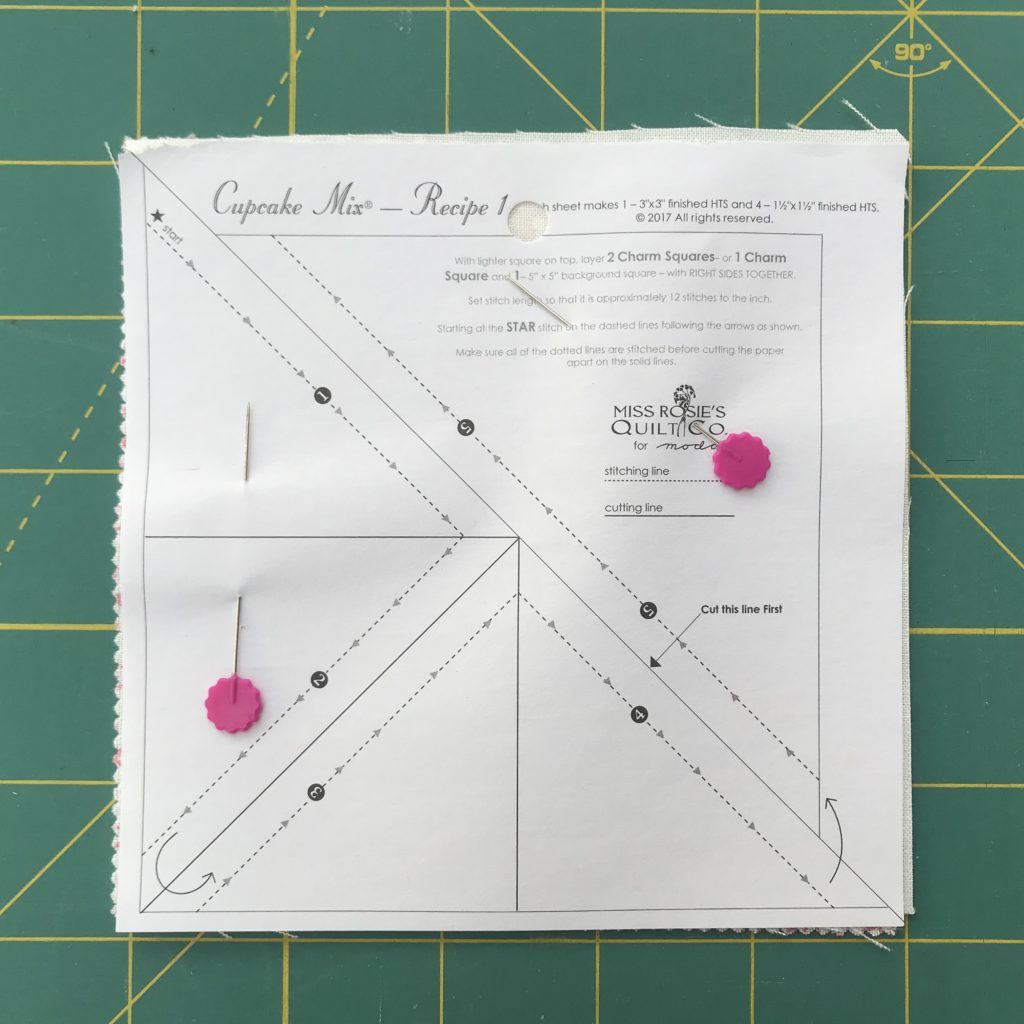
Layer your charm squares in the following order. Printed fabric face up, background fabric face down and the Cupcake Recipe Card face up on top of the fabric stack. Carefully use the two pins,to hold all three layers in place, being careful not to pin along the dotted lines.
Repeat this step with all 32 Charm squares, background squares and recipe cards.
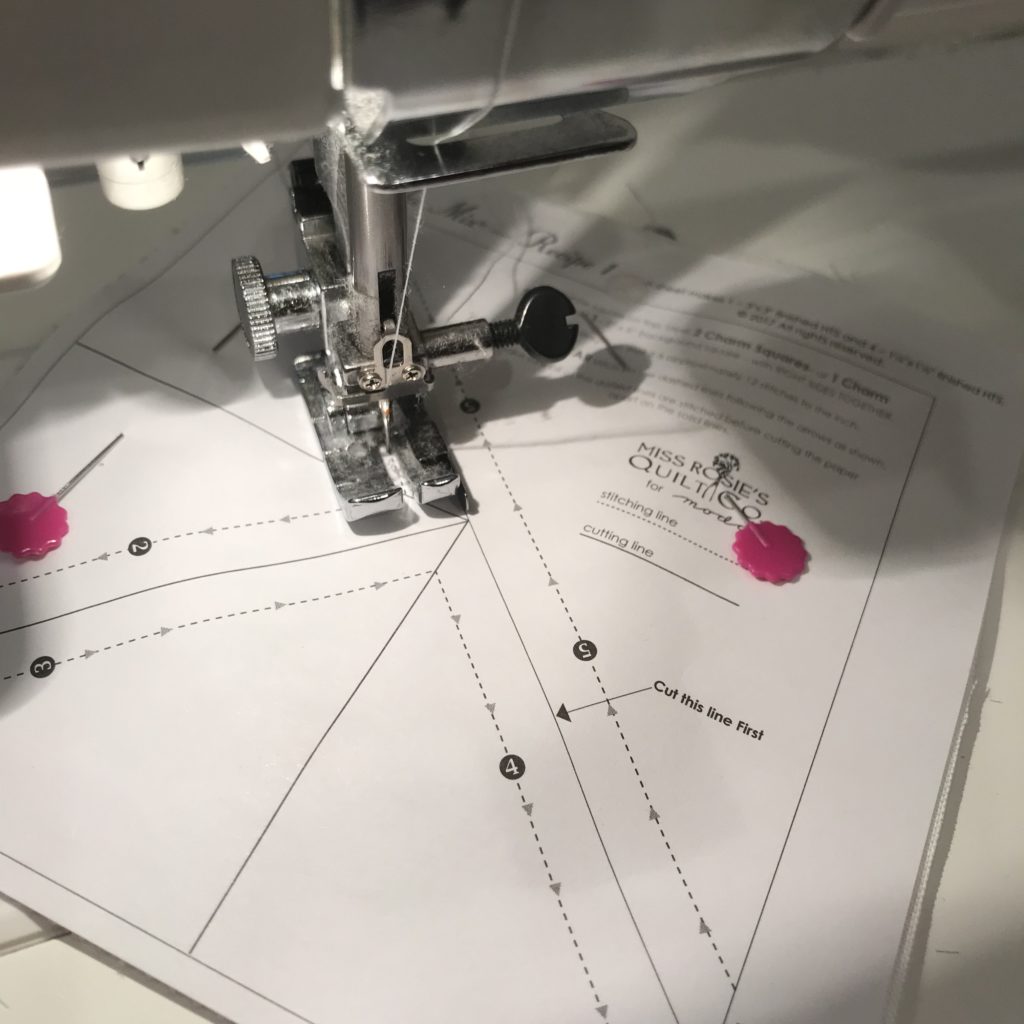
Take the pinned recipe cards to your sewing machine and sew on the dotted lines, following the numbers like a "connect the dots." Be sure to slightly shorten your stitch length to make the paper rip off easier.
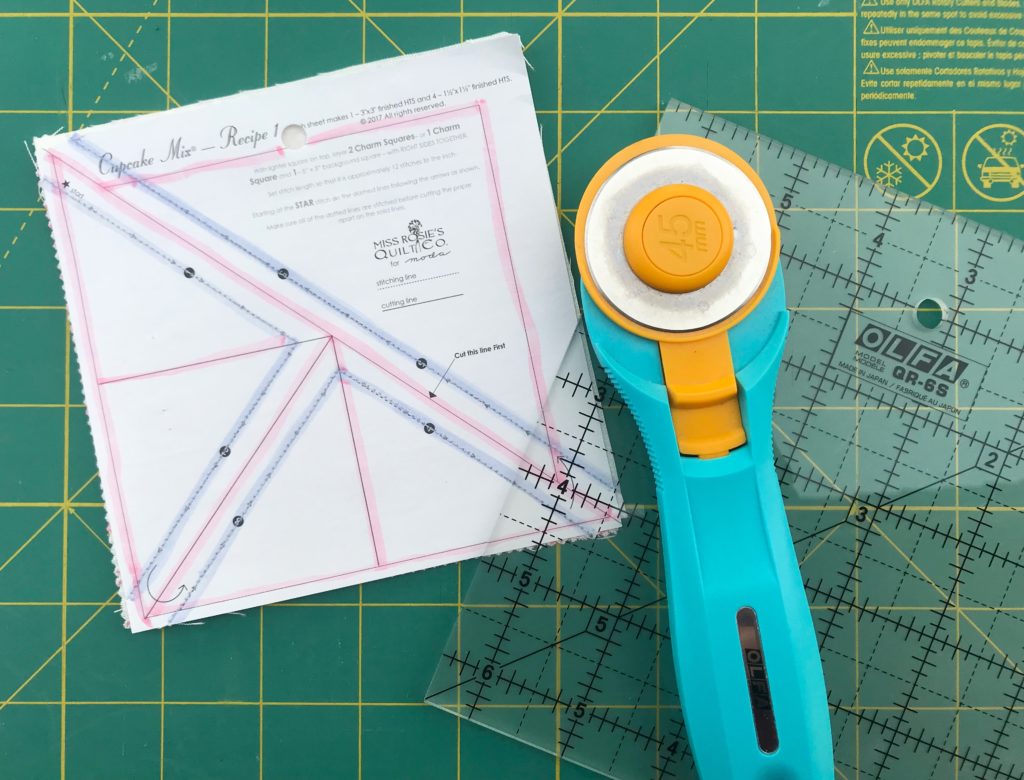
When all 32 of your recipe cards are sewn, you are ready to cut your recipe cards.
{I outlined the sew lines in purple, and the cut lines in pink to make it easier for you to see the difference}
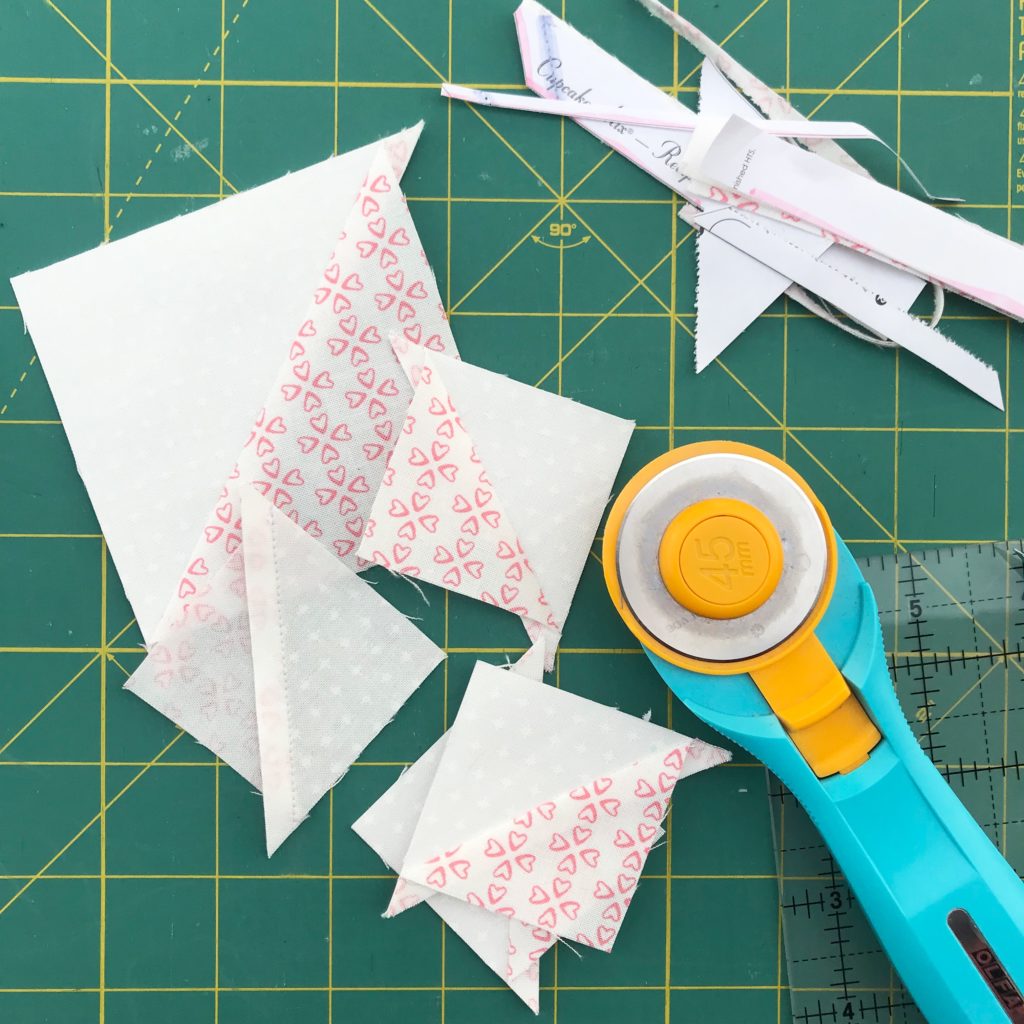
Trim along the solid (cut) lines. I like to trim the two sides that touch the four smaller half square triangles first, then slice the block diagonally down the middle, giving a unit with the four smaller half square triangles and a unit with one larger half square triangle. Trim the units along the remaining solid lines, yielding four small triangles, and one large triangle.
Iron the triangles open. A neat trick to prevent the fabric from stretching is to iron the squares while the background paper is still attached to the square. By placing the paper side on the ironing board, you can fold back the focus charm and press. Your seams will be pressed to the dark side. Pretty brilliant right?!?
After the triangles are ironed, tear off the paper backing by holding the seam between your index finger and your thumb, and tearing the excess paper away from the seam. It should pop right off!
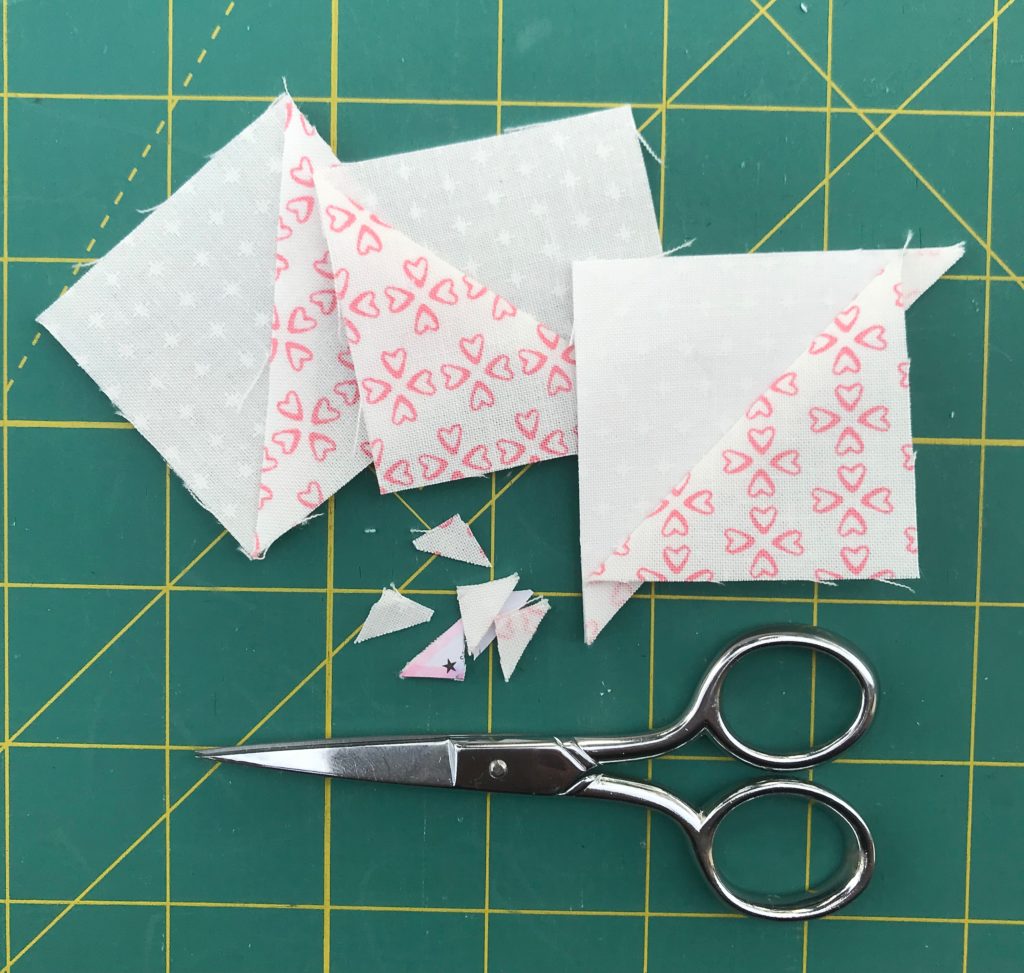
Although the blocks are perfectly square, I find it easier when I am assembling the blocks to snip the little corners off the edges of my triangles.
There you have it! One charm, one background square, and one cupcake mix paper will yield (1) 3.5" (unfinished) and (4) 2" (unfinished) perfectly sized half square triangles.
Assembling the Blocks:
The X's and O's pattern is made up of two different blocks. The X Block and the O block.
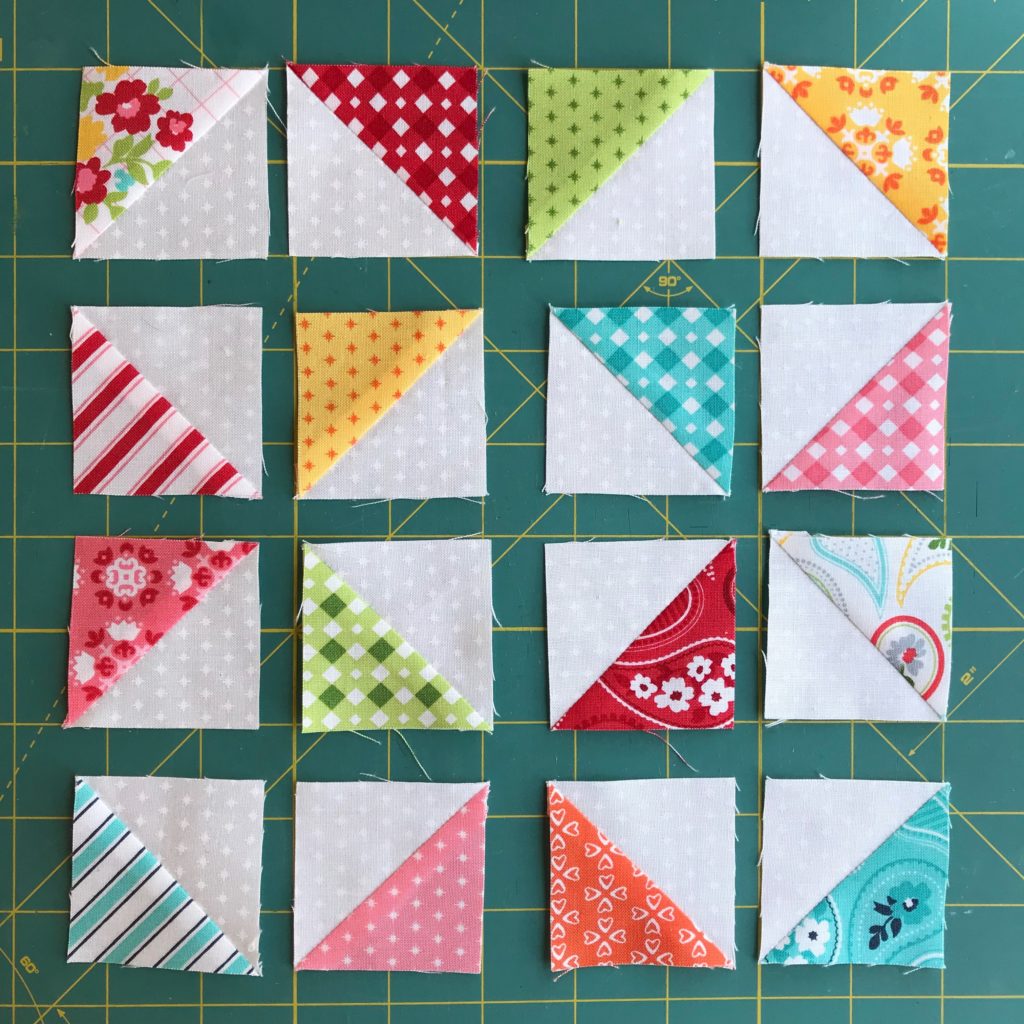
To make an X block, gather 16 of the smaller half square triangle units and arrange as shown. Take a few extra seconds to make sure all of your half square triangles are facing the correct direction.
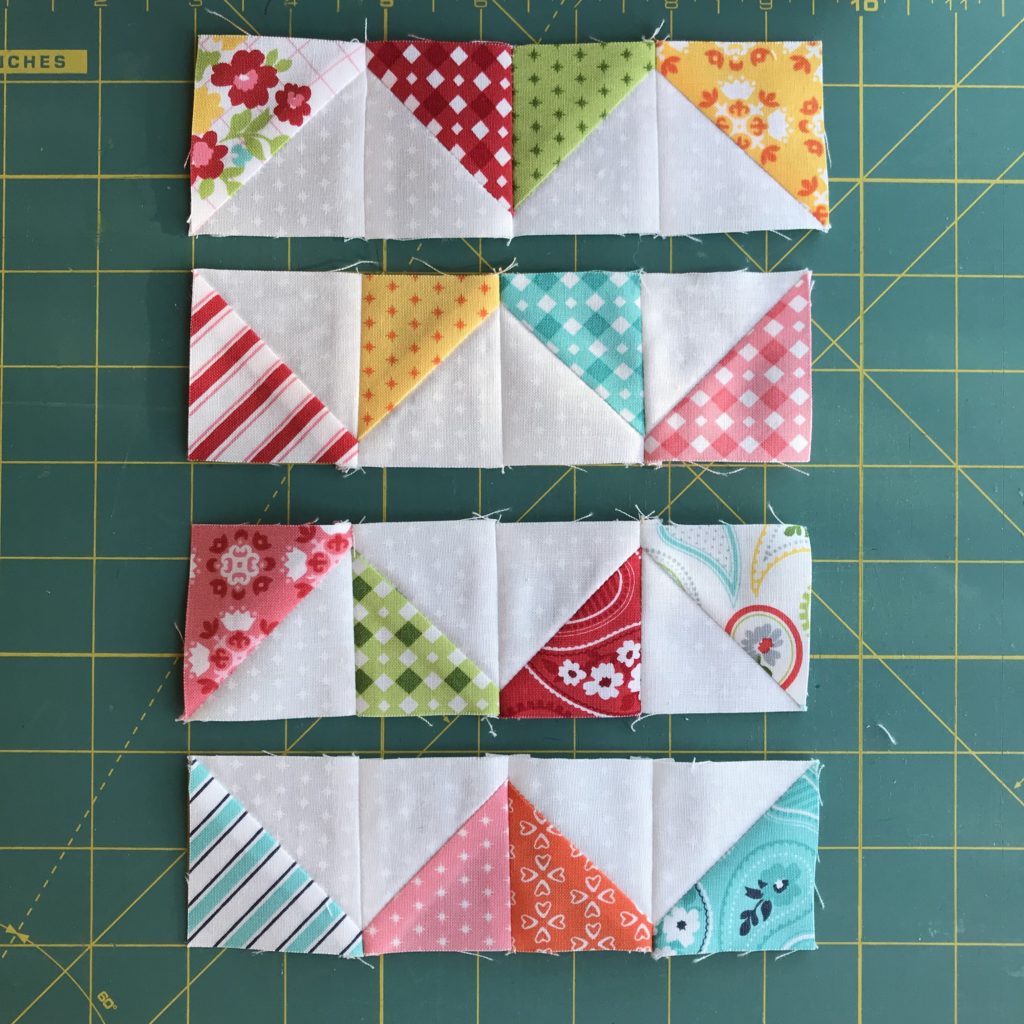
Take your block units to the machine and sew into four rows as shown. Because there are so many seams in a relatively small block, I like to press my seams open.
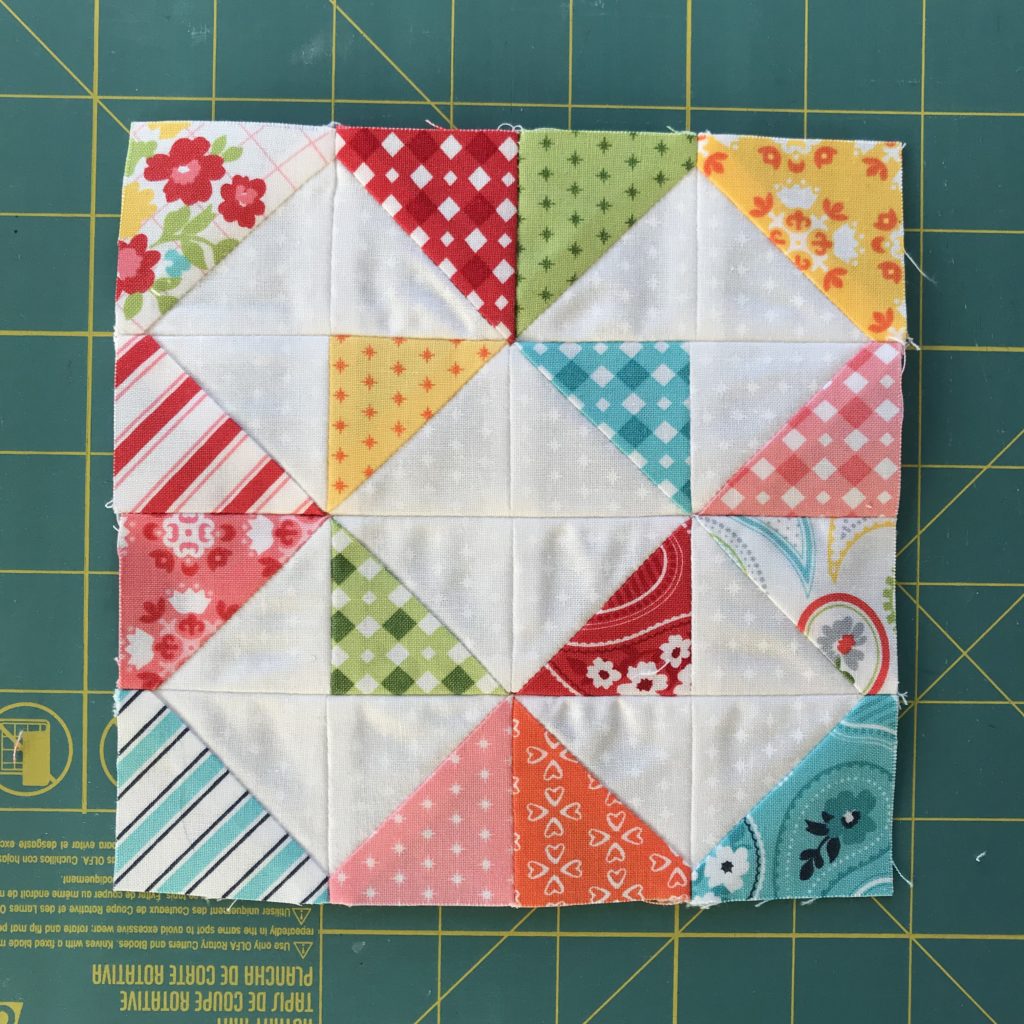
Assemble the four rows into one block that measures 6.5" square unfinished.
Make 8 of the X Blocks.
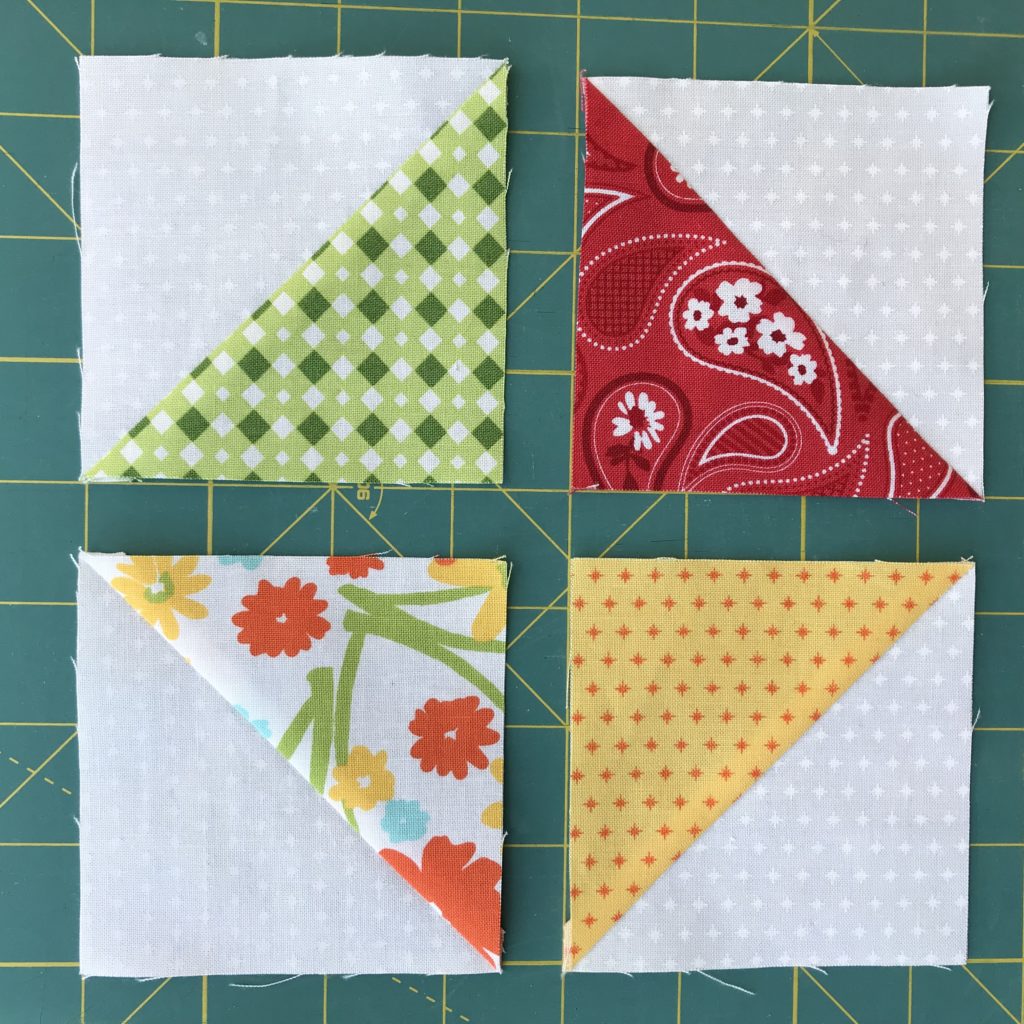
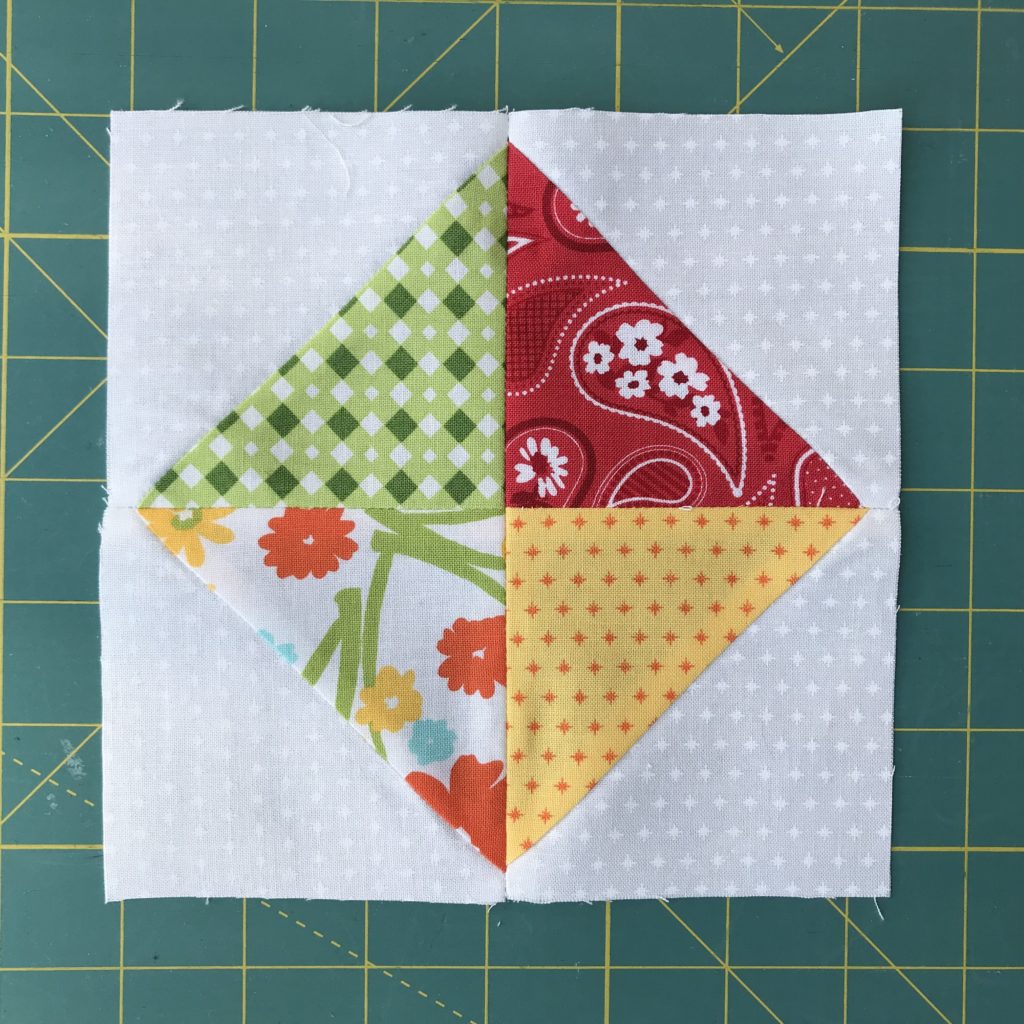
To make an O Block, gather 4 of the larger half square triangle units.
Double check that all the charm squares are facing inward and sew units together as shown.
The O Block should measure 6.5" square (unfinished).
Make (8) O Blocks.
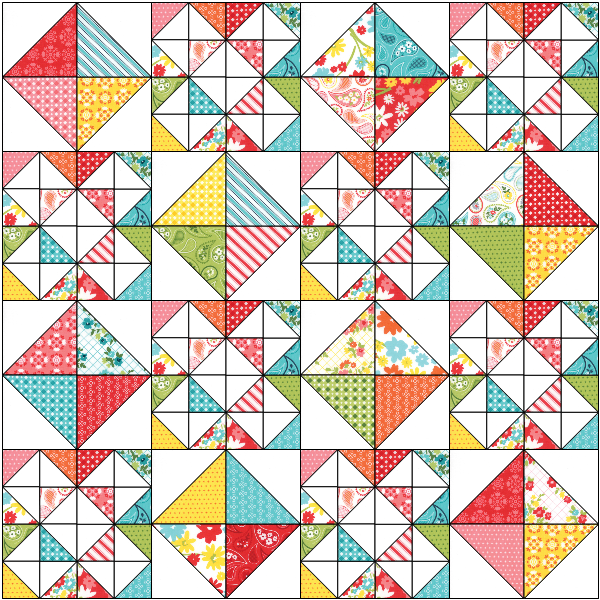
Assemble blocks together as shown alternating between O blocks and X blocks.
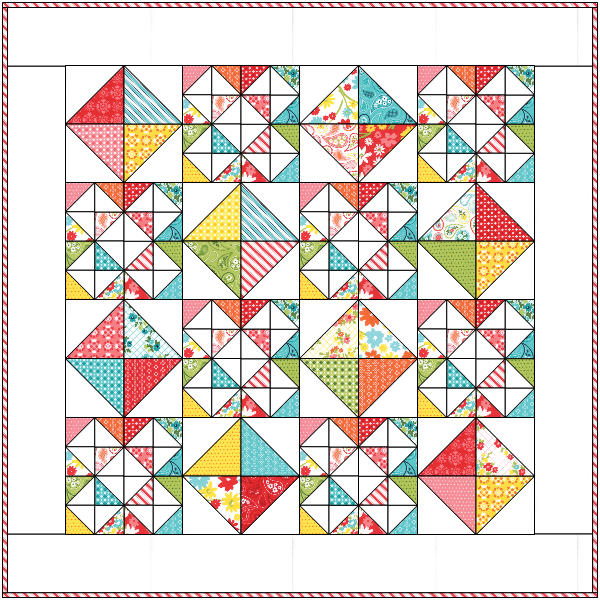
Attach the borders:
From the background fabric, cut four strips 3.5" by the width of fabric.
Cut two border strips to 24.5"** and attach to the left and right sides of the quilt.
**Because we all have different seam allowances, I recommend cutting your border strips after measuring the quilt top and using that measurement as your cutting measurement.
Cut two border strips to 30.5" and attach to the top and bottom sides of the quilt. Again, I recommend cutting your border strips to size after you have measured your quilt top.
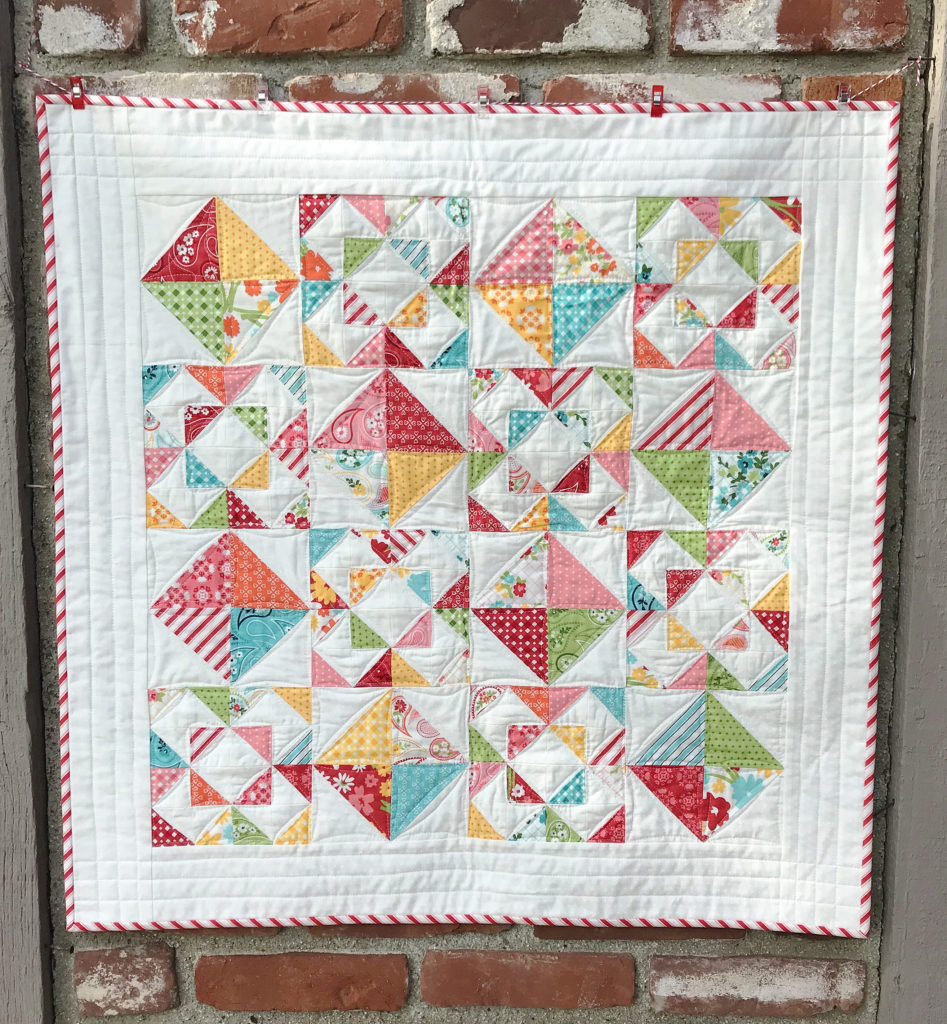
You now have a completed quilt top!
After pressing your top, and preparing your backing, layer the quilt top, batting, and backing fabric. Baste with your preferred method and quilt as desired. I quilted my X's and O's quilt with a continuous faux orange peel design after a favorite vintage quilt. I quilted the borders with straight lines.
Bind using (5) 2.25" of straight of grain binding strips.
This quilt finishes at 30" 30".
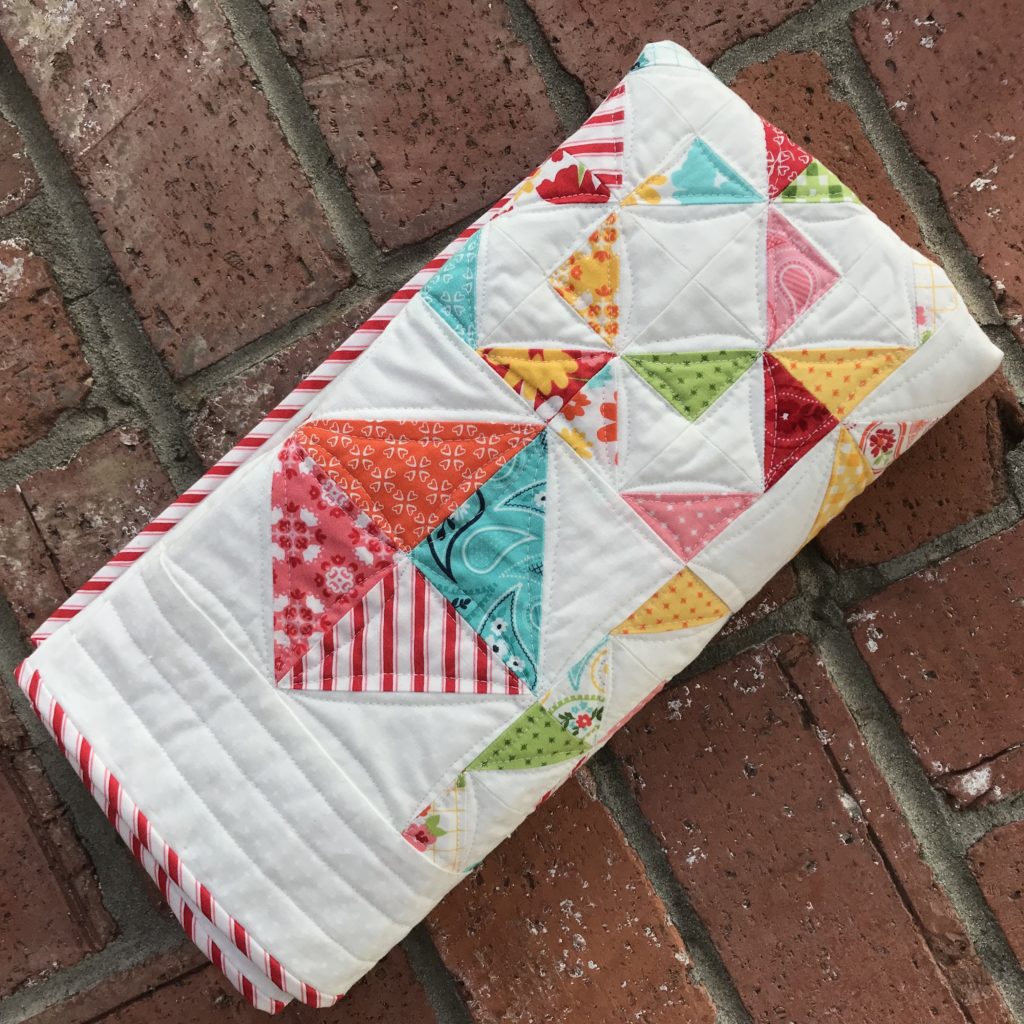
I hope you enjoy making this sweet X's and O's quilt!
I'd love to see what you make. Be sure to tag me on Instagram (@thefeltedpear) when you share your project!
Susan Vaughan
{@thefeltedpear}






Comments